Thursday, August 28, 2014

Protein Packed Chocolate Vegan Smoothie

Several months ago my husband and completed 19 days of the 21 day Sugar Detox challenge.  Yes, I admit that we did not make it through the full 21 days.  :(

I would describe the 21 day Sugar Detox chalenge as a "Paleo diet on steroids".  It was a hard challenge!  I found that I did not miss bread or sugar at all.  However, I did miss chocolate!!! To get through this challenge my husband I both made ourselves chocolate smoothies using green bananas. They were decent at the time.

Now that the challenge is over I have modified our original creation to make it more appealing and higher in protein.  This smoothie makes a great post-work out drink!


Ingredients

1 cup of almond milk or coconut milk
1 very ripe banana
1 TBS almond butter
1 TBS cocoa powder
1/2 TBS milled flax seed
2 cups ice cubes

Place all ingredients, except the ice in a blender.  Blend on high until smooth.  Add in ice and blend again.

Serve immediately. 


Wednesday, August 20, 2014

Make Your Own Chicken Broth!

Making your own chicken broth is extremely easy.  Even for a working family as you let the crock-pot do all the work.  About once a month I roast a chicken in the crock-pot or oven for an easy and healthy meal.  That night I use the leftover chicken carcass to make nutrient rich 'bone-broth'.  I add salt, seasonings, and vegetables for extra flavor.  I do not always have celery on hand and often omit it if needed.  Broth still tastes great!


Ingredients

Leftover chicken bones1/2 cup carrots, organic2-3 stalks of celery, organic1 tsp sea salt1 bay leaf


Place chicken bones in crock pot.  Add vegetables, salt, and bay leaf.  Add water to fill crock pot to just below the top.

Cook on low for 8-10 hours or overnight.

Allow chicken broth to cool slightly.  Then using a ladle and a fine mesh food strainer, pass the stock through the strainer to remove herbs and bones.  

Freeze in 1 to 2 cup portions for later use.  I use plastic Bell freezer jars which hold 8 ounces each.


http://realfoodwithout.blogspot.com/2014/08/mango-avocado-salsa.html

Monday, August 18, 2014

Birthday Balance

I tend to get a bit carried away when planning my daughters' birthdays.  I love to plan parties! I love to take their chosen theme and then research away on Pinterest, pinning everything that looks whimsical.   My mother-in-law loves to help out with decorations and games.  Between the two of us we get a bit carried away.

I always make my own cupcakes and frosting using my favorite Chocolate Cupcake Recipe.

I plan parties between meal times and focus on providing guests with snack food and fruit. I try my best to provide kid friendly snacks that do not contain too much sugar.  The cupcakes take care of that!  I always provide fruit for a healthy option.

Last month we celebrated Wiggles 5th birthday with an "Under the Sea" theme.  Here are the highlights from that day.


Party Food Table


Crab Cupcakes

Directions- Using toothpicks, attach orange slice candies, peach rings (cut in half to make the claws), and gumdrops.  Add Wilton "googly eye" candies to the gumdrops using icing.  Frost cupcakes with white frosting.  Dip in the 'sand', which is a combination of brown sugar and crushed graham crackers.  


Fruit Platters


Games

Pin-the-tail-on-the-whale


Octopus Bean Bag Toss

Mermaid Photo-Op

Other Decorations

Wiggles Treasure Chest, Jelly fish lanterns, and a craft table.


Wednesday, August 13, 2014

Mango Avocado Salsa

Amazingly easy and delicious! 


Ingredients

1 large ripe avocado
1 large ripe mango
Trader Joe's Pineapple Salsa

Peel and dice both avocado and mango.  Add in the Trader Joe's Pineapple Salsa 1 tablespoon at a time.  Stir to combine until you get the right ratio of salsa to fruit.

Serve immediately with organic corn tortilla chips.

Monday, August 11, 2014

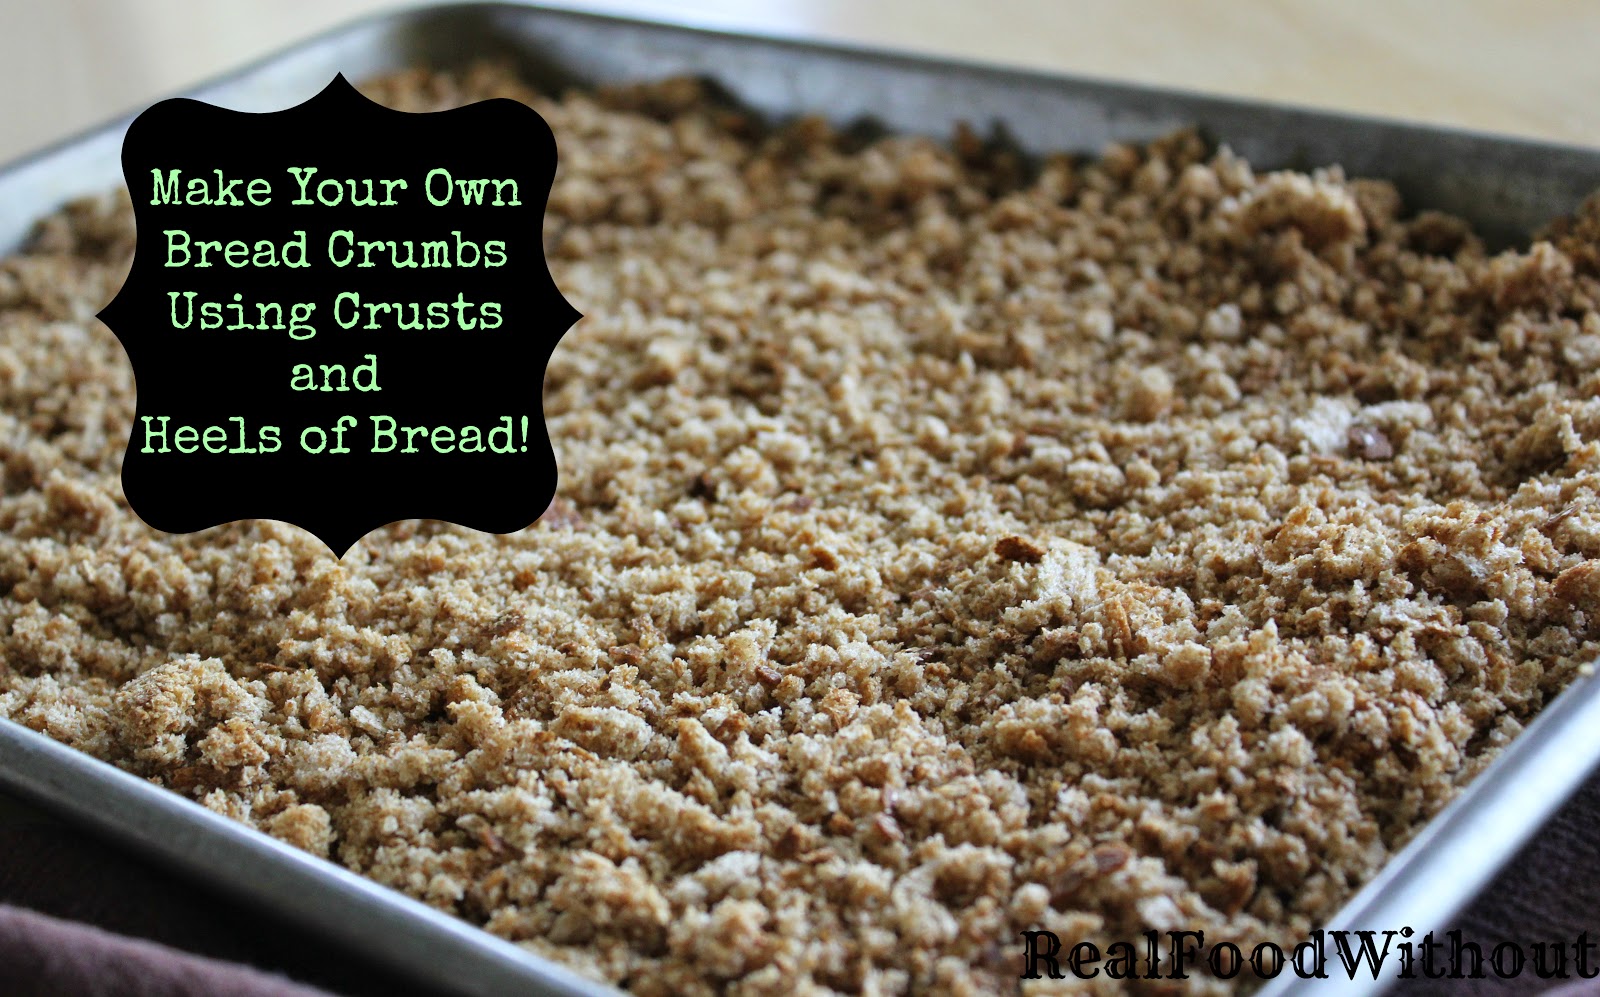
Kitchen Tips- Homemade Bread Crumbs

Do your kids consistently eat the middle of the sandwich leaving a ring of uneaten crusts behind?

I struggle with the idea of not making them just eat the crusts.  However, when packing school lunches I do sometimes cut off the crusts for them.

I then freeze the crusts in a freezer Ziploc bag.  When the bag is full or when I need breadcrumbs, I place the frozen crusts in my Ninja blender (or use a food processor) and blend until fine.  I also freeze the heals of bread as well for the same use.

Spread the bread crumbs on a rimmed metal baking sheet.  Bake at 350 degrees for 15-25 minutes.  Check every 5-8 minutes.  Stir each time.  Remove from oven when bread crumbs are crisp and slightly browned. Be careful not to burn.


Store bread crumbs in an airtight container for 1 week or freeze for up to 3 months.

This would be an excellent way to get gluten-free bread crumbs with no extra cost.


Wednesday, August 6, 2014

Black Bean and Corn Tortilla Pie

This recipe is kid approved!  My girls LOVE this and often ask for seconds.

I like to buy the Trader Joe's Truly Handmade tortillas for this recipe.  I have tried making my own but with mixed results.  I always have canned organic black beans on hand.  However, I prefer buying the organic dried black beans and then cooking them myself.  I freeze the extra in approximately 1 cup increments.

I make two versions of this recipe each time I make it.  In one I use real cheese and in the second I use Daiya dairy-free cheese.


Ingredients

6-8 tortillas
1 TBS olive oil
1/4 cup frozen onion
2 garlic cloves, minced
1/2 tsp ground cumin
4 cans organic black beans, drained and rinsed
1-1/2 cup of chicken broth (preferably homemade)
1 package of organic frozen corn
shredded cheese OR Daiya cheddar style shreds (about 2 cups total)

Preheat oven to 400 degrees.

Heat 1 tablespoon of olive oil in a large skillet over medium heat.  Add the onion and heat until translucent.  Add garlic and saute an additional 30 seconds.  Add in beans, chicken broth, and cumin.  Bring to a boil then reduce the heat and simmer for 10-20 minutes, until most of broth has been adsorbed.  Stir in the corn and remove from heat.

Spray a deep casserole baking dish (I use two round, white casserole dishes) with cooking spray.  Place tortillas to cover the bottom.  Layer with 1/4 of the bean mixture and top with cheese.  Cover with an additional tortilla.  Repeat layering until the bean mixture is gone.  The top layer will be just beans topped with cheese.

Bake 20 minutes, cheese on top will be melted.

Notes-
1.  Recipe is naturally soy free (always double check the tortillas!).
2.  Use all Daiya cheese to make recipe dairy free.
3.  I make two casserole dishes each time.  One with real cheese and one with Daiya cheese.
4.  Recipe reheats well the next day for lunch.